For those who are not familiar with Yeelight bulbs, they are WIFI bulbs that can be controlled via home automation software or just your smartphone, allowing you to change the brightness as well as the color, create ambiance effects, etc.
You can find this kind of lamp on Amazon, it's quite nice to control everything with a remote:

Simply download the Yeelight app on your smartphone and add the lamp in this application. To initialize the WIFI bulb, you need to turn the lamp off and on 5 times, it will blink and change color, then it will be available to add in the Yeelight app.
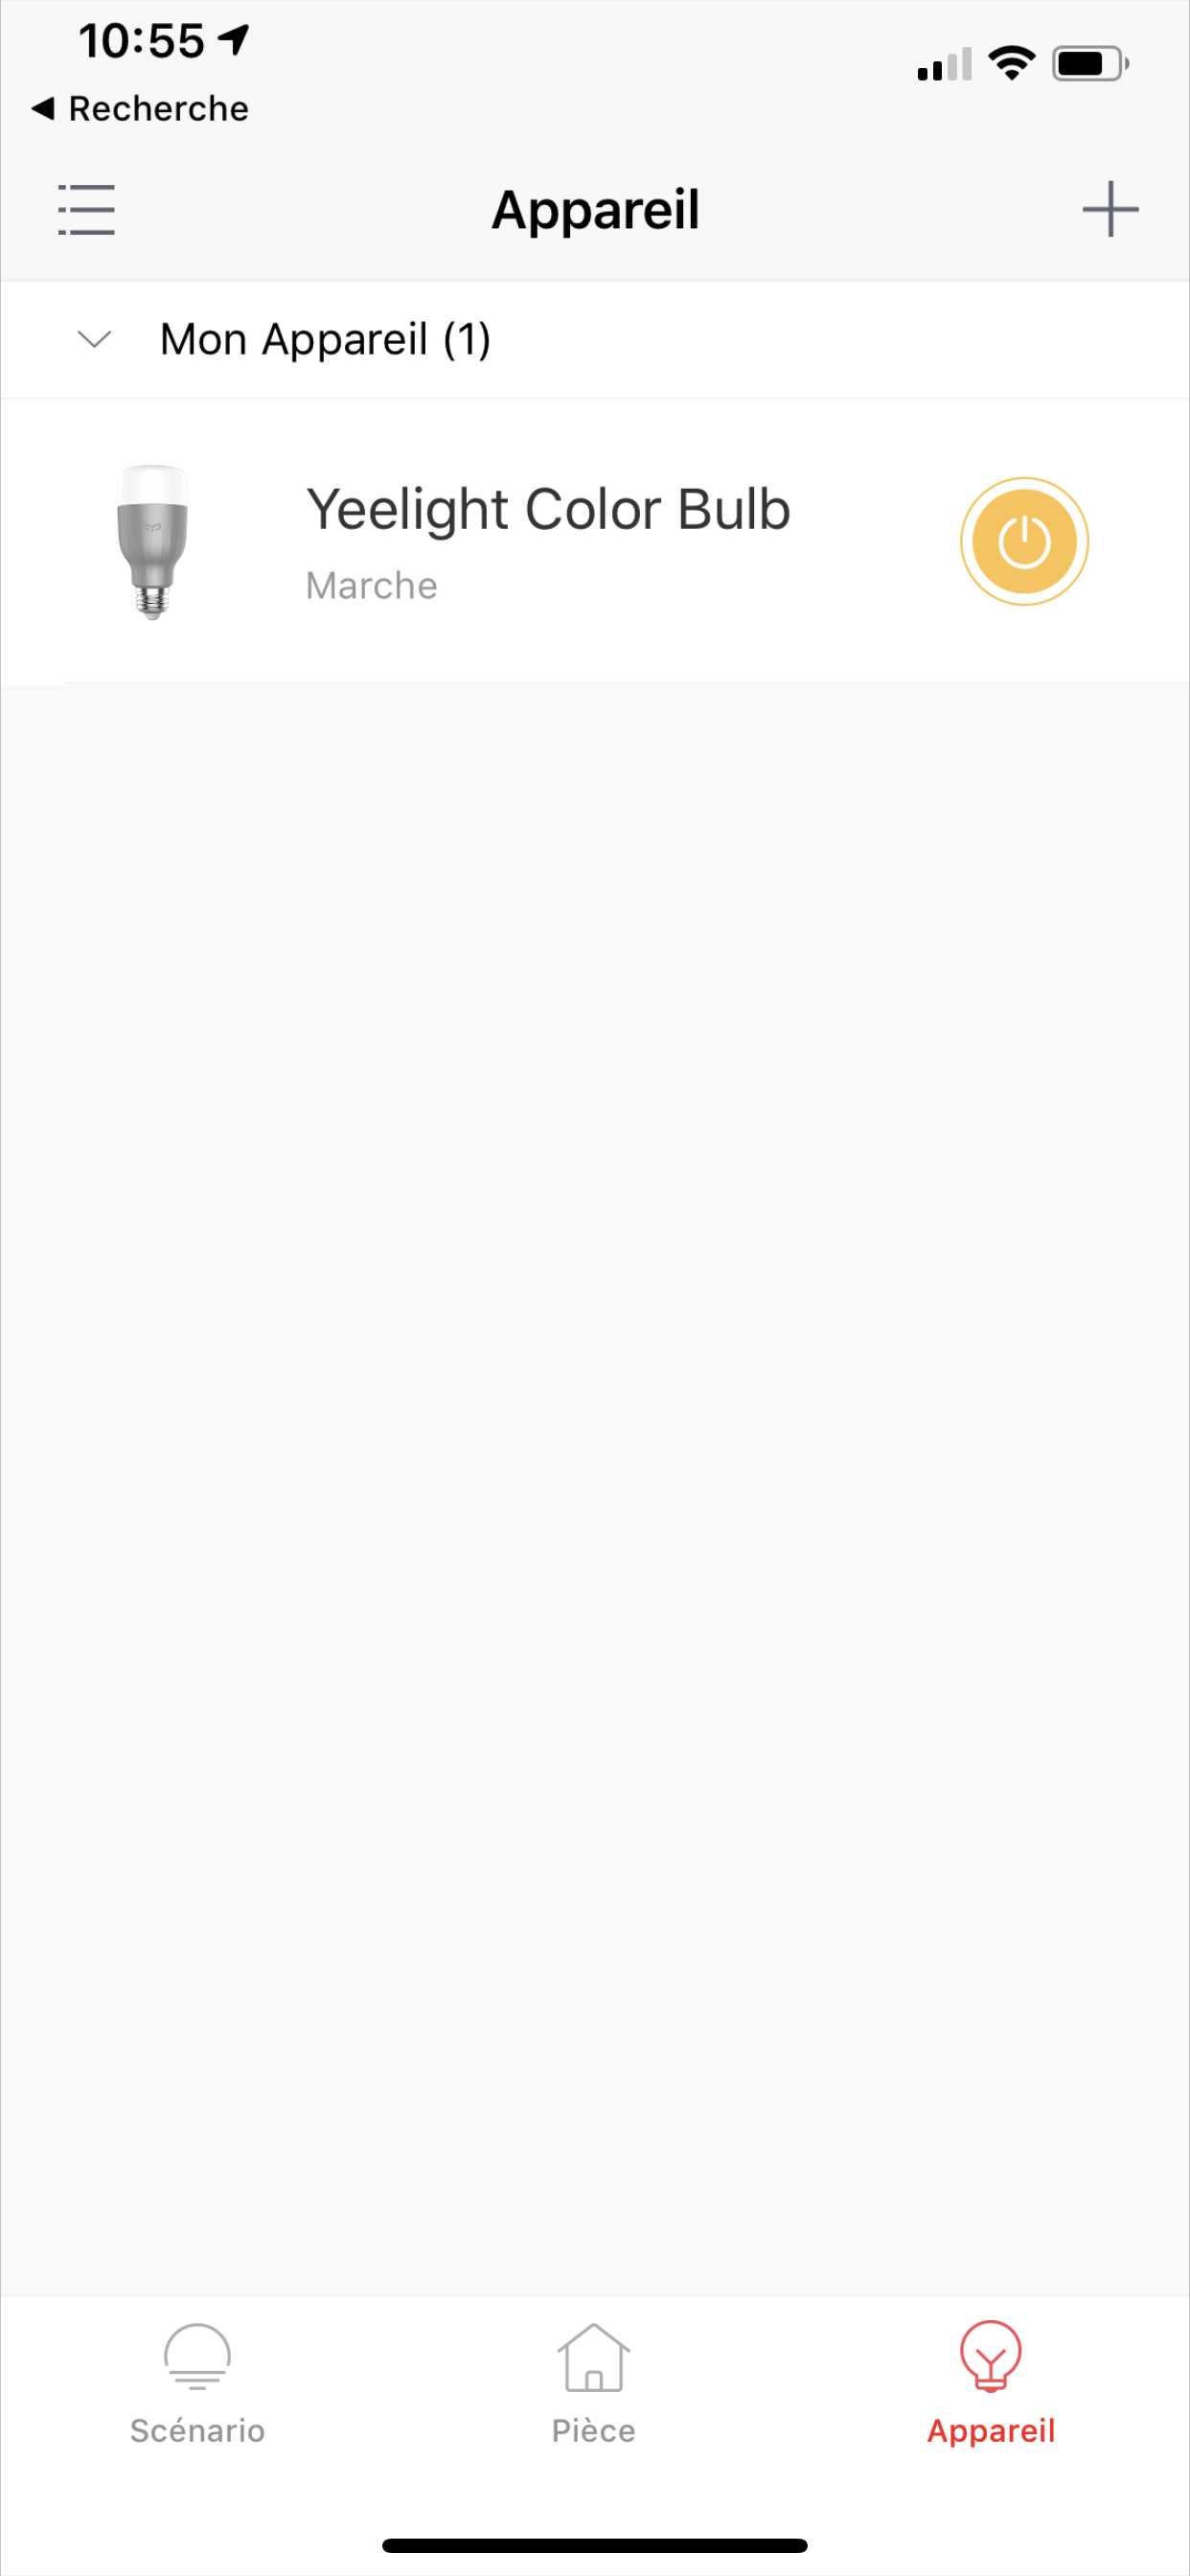
Next, for it to be recognized under Jeedom, you need to click on the bulb in the Yeelight app:
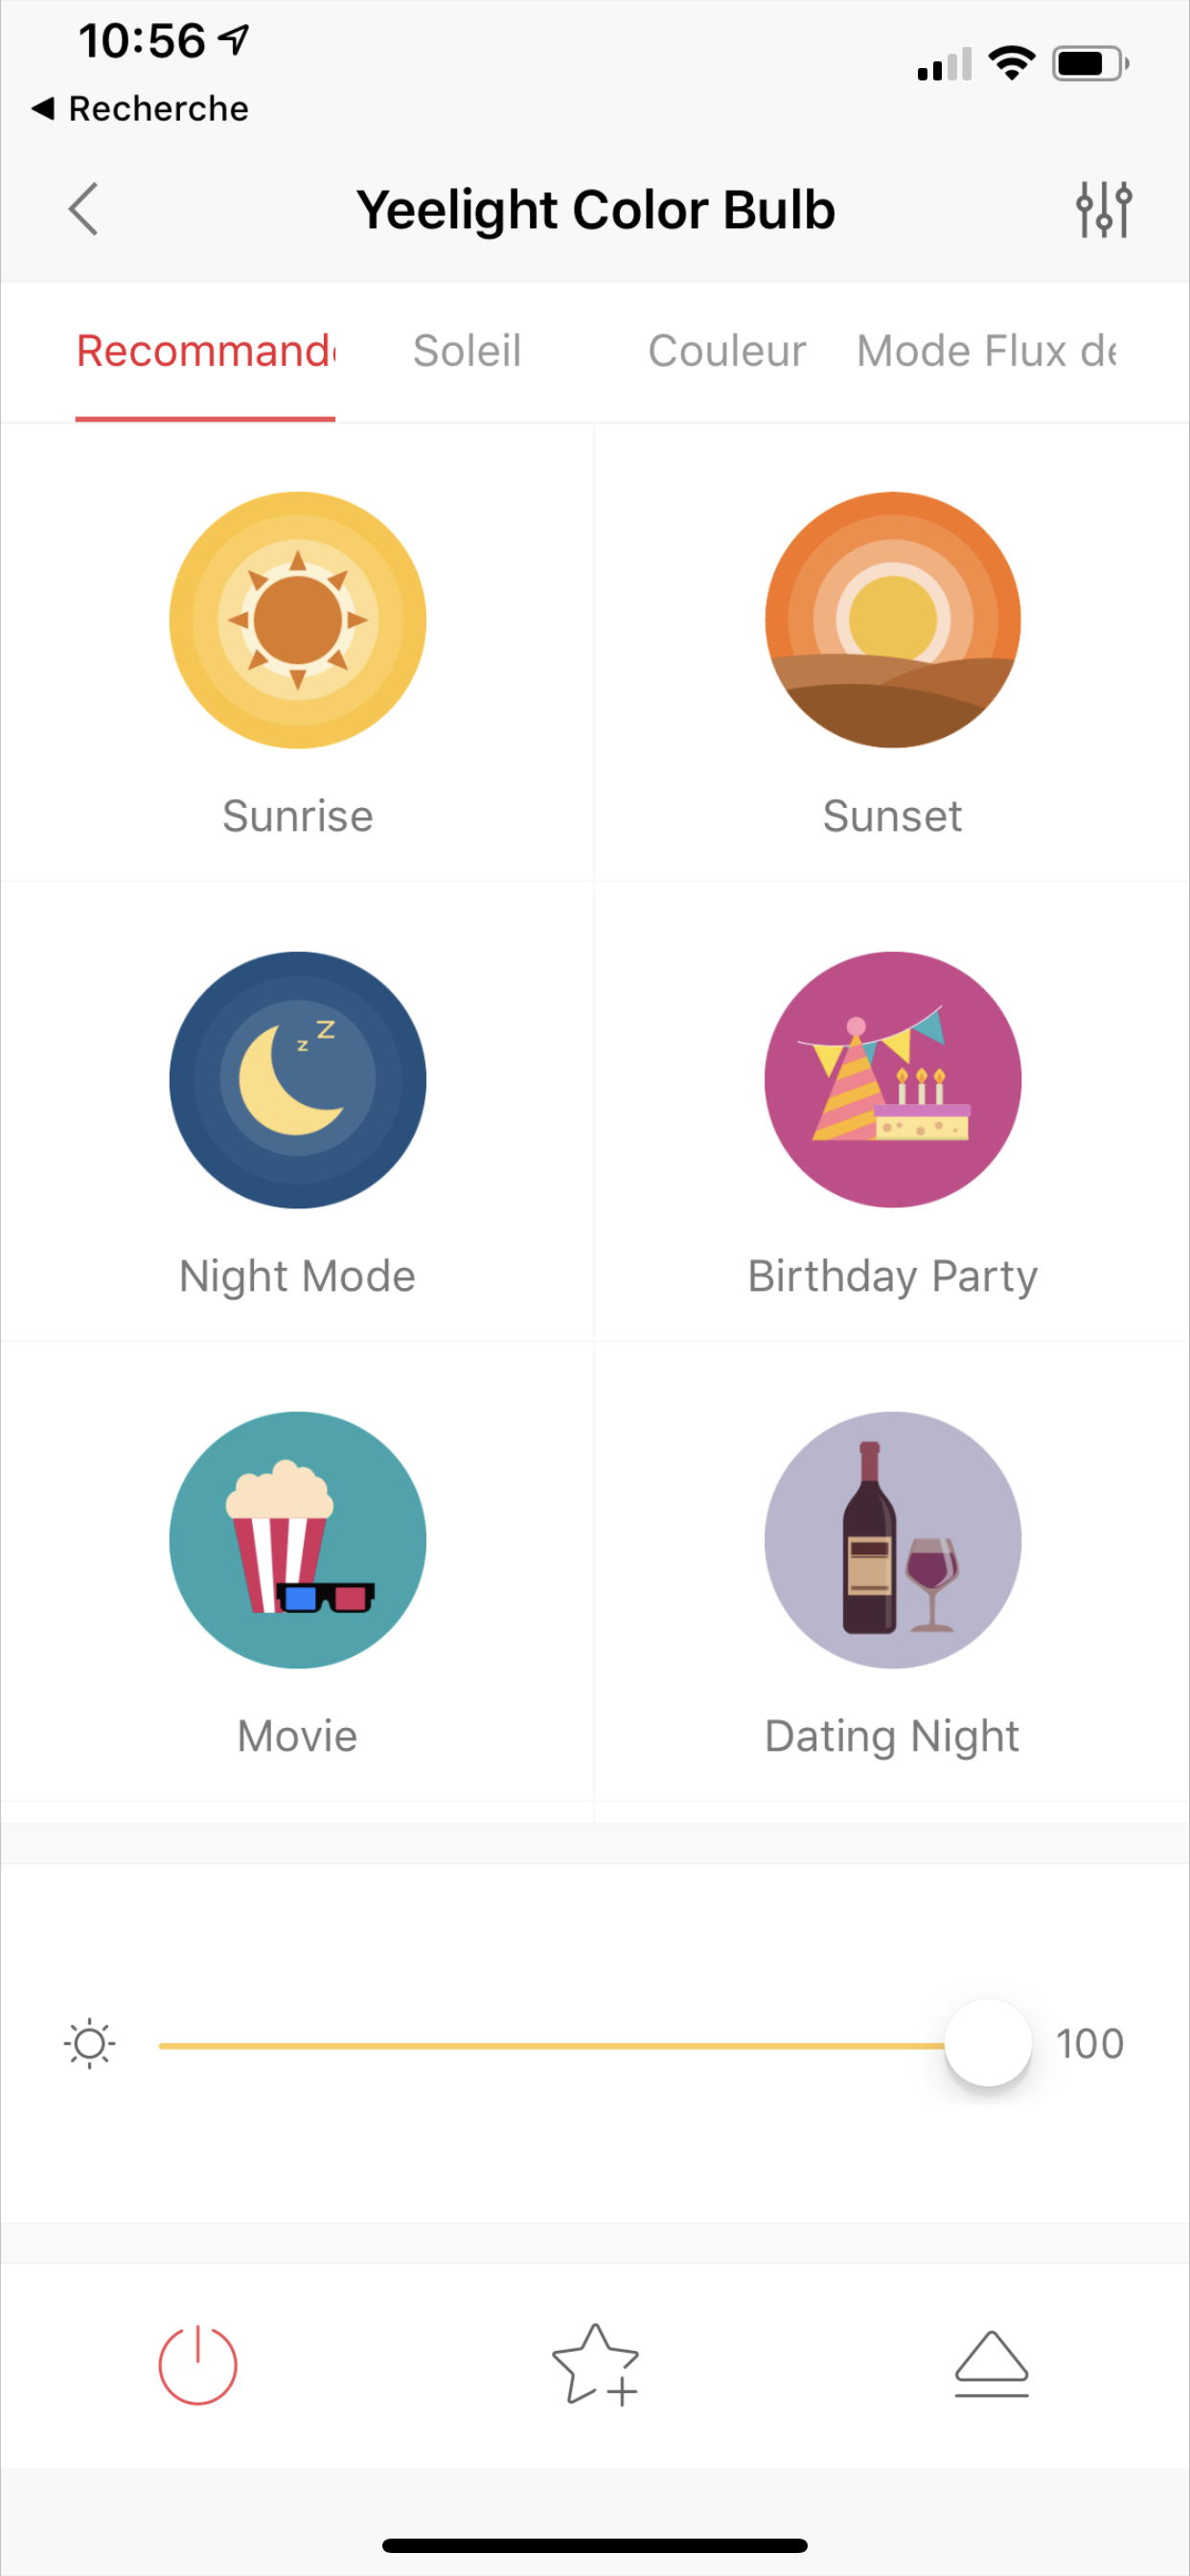
Then click on the button on the right that looks like an "EJECT" button
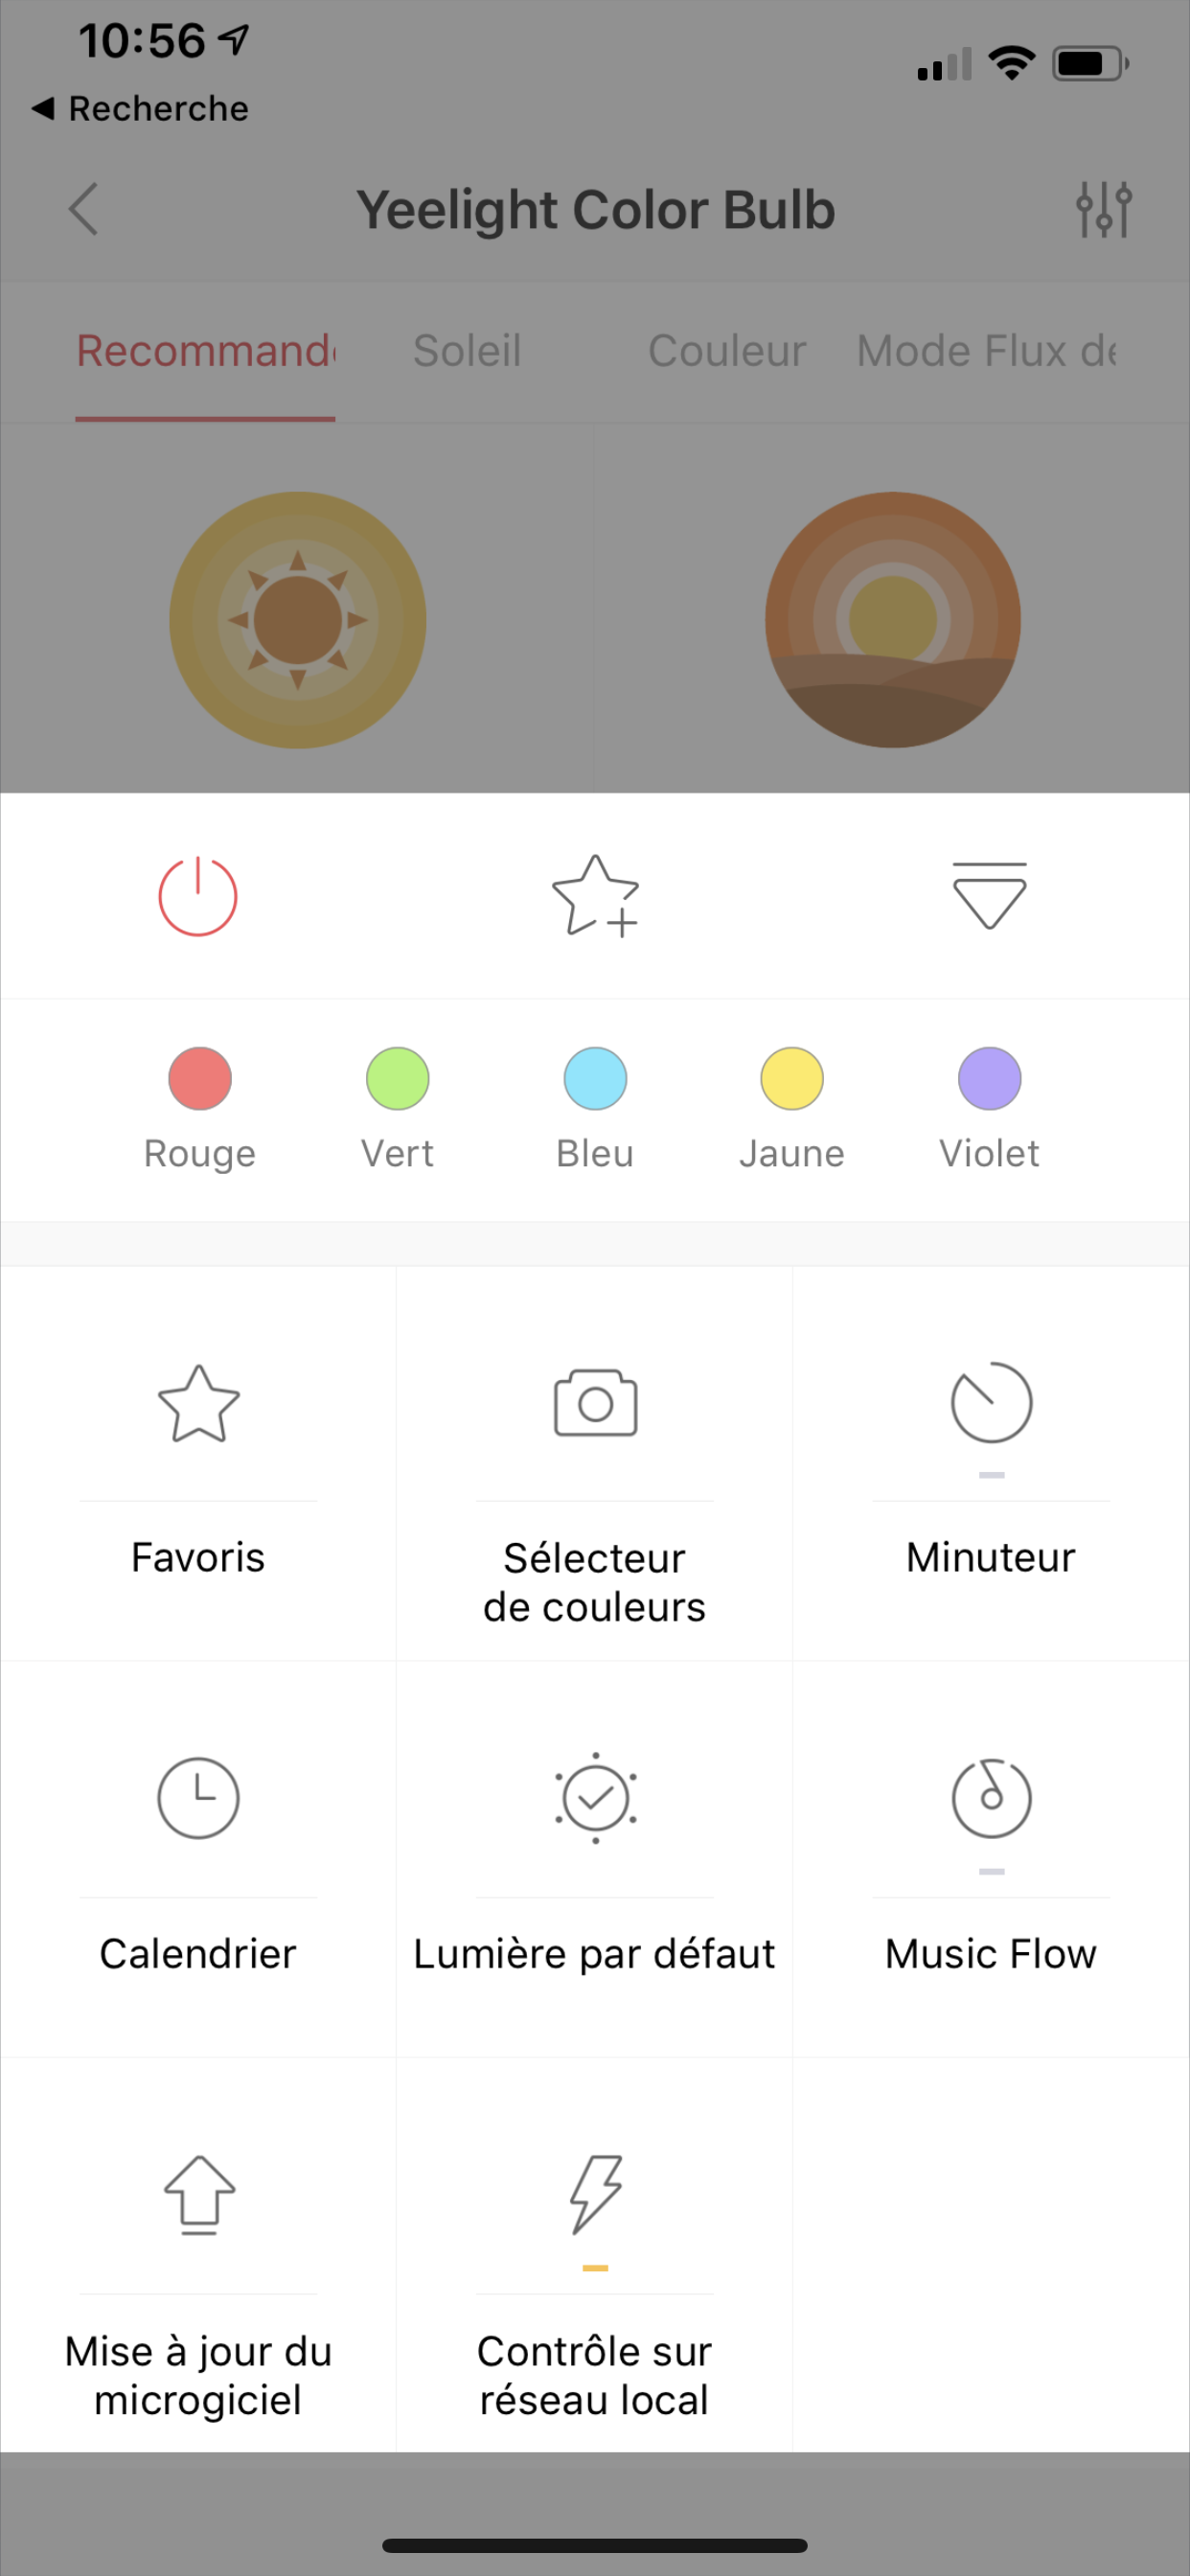
Then click on the "Control on local network" button
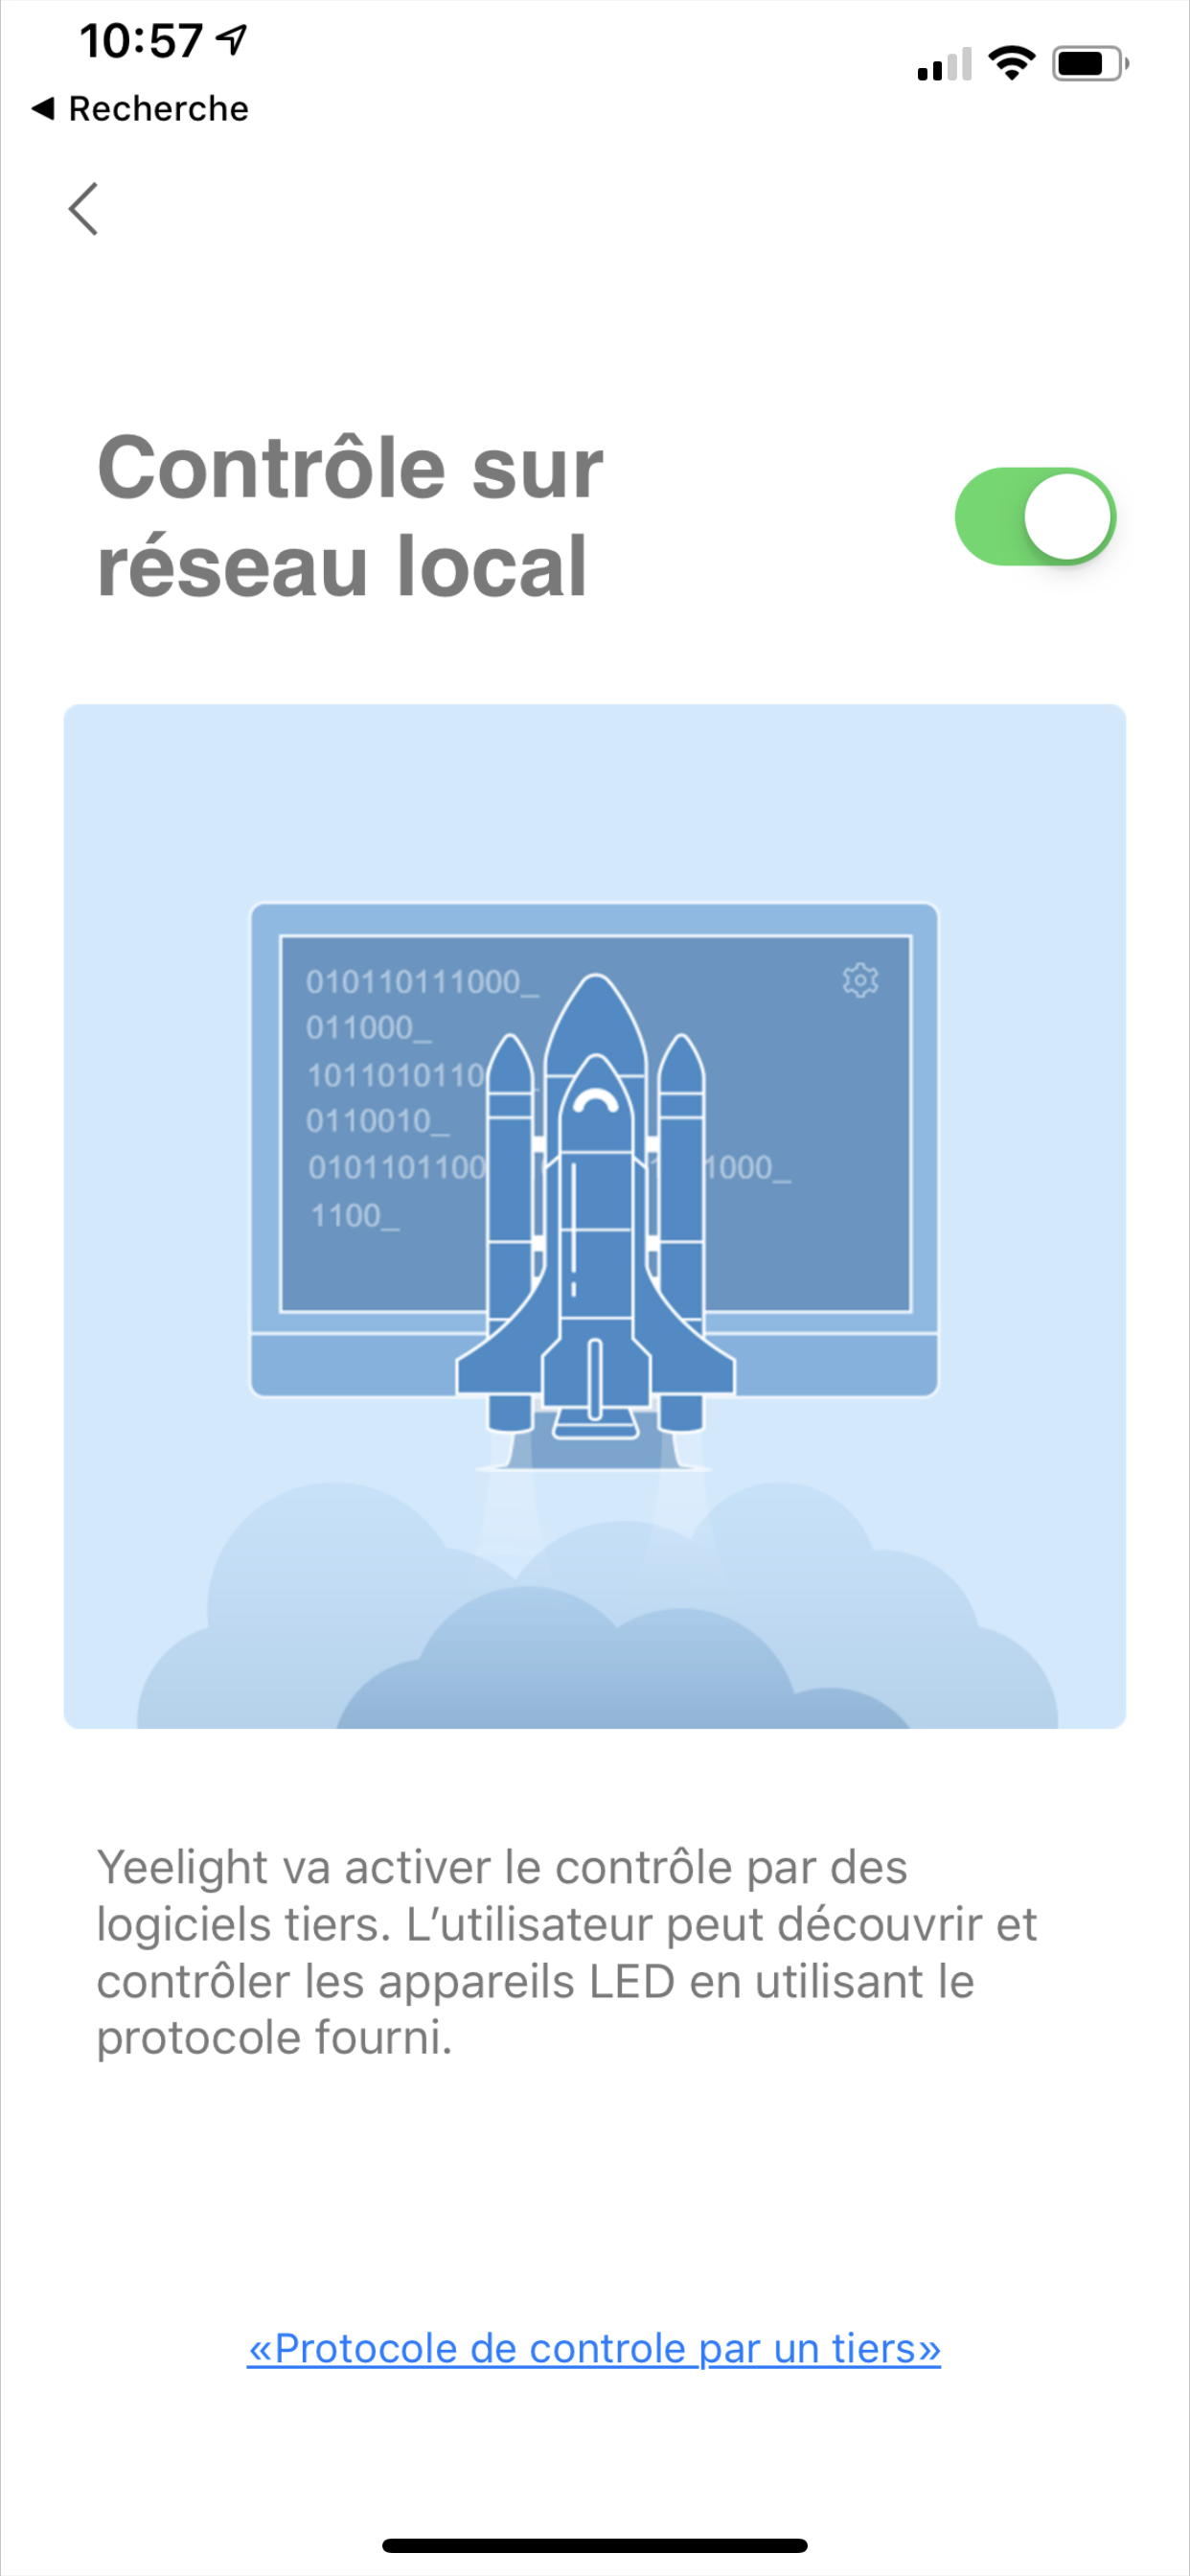
Then slide the button to ON (Open) to allow Jeedom to access the API
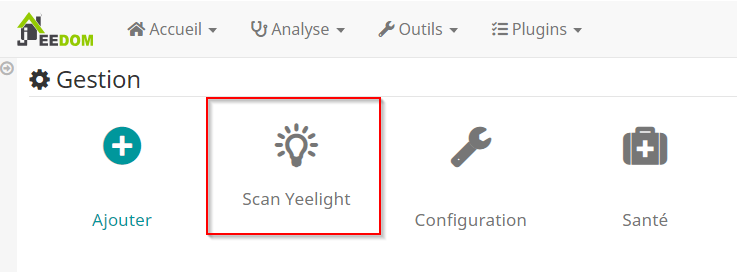
And there you go, your lamp is ready for Jeedom, now go to Jeedom in the XIAOMI plugin and click on the "Scan Yeelight" button
And your Yeelight bulb will be recognized immediately!
For my part, I bought this Z-Wave remote control from Hank which I am very happy with, it allows me to launch 4 Jeedom scenes for a short press on the buttons and 4 scenes for a long press. With this remote, I created a scenario that allows me to open or close the bulbs but also, with a long press, to change the colors of the bulb, here is an excerpt from my scenario under Jeedom:
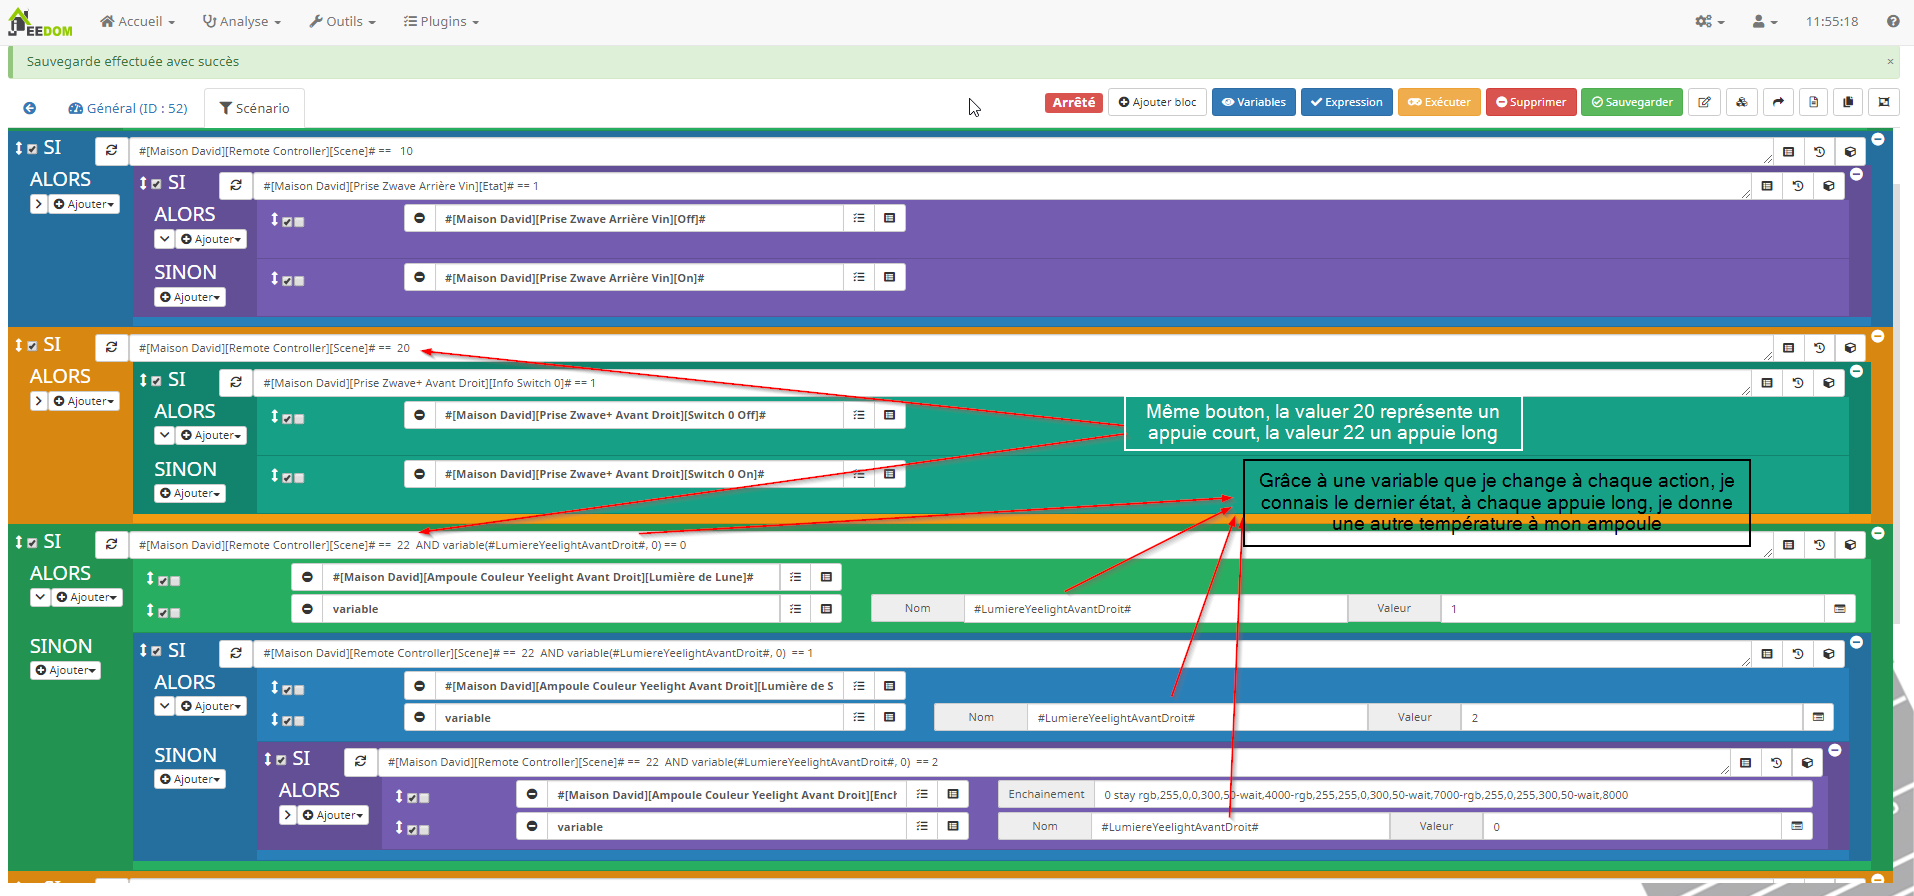
As you can see here, the values 10, 20, 30, or 40 represent a short press for each button on the Z-Wave Hank remote, the values 12, 22, 32, and 42 are the values for a long press, so I make a comparison when pressing multiple times a long press (here the value 22), I create a variable #LumiereYeelightAvantDroit# that I set by default to zero, if it is zero then I activate the "Moon Light" (light green frame), once this value is activated, I set my variable #LumiereYeelightAvantDroit# to 1, so I know that I have already pressed my button long once, if I press again long on this button, which still has the value 22, I move to the next line, since my variable #LumiereYeelightAvantDroit# is 1, and I activate the "Sun Light" (blue frame), I also set my variable #LumiereYeelightAvantDroit# to 2 and then if I press again long, I move to the purple frame where I activate the color ambiance and reset the variable #LumiereYeelightAvantDroit# to 0, which forces the scenario to restart from the beginning if I long press this same button. (documentation here: http://tutoriels.domotique-store.fr/content/168/389/fr/manuel-d_utilisation-de-la-telecommande-_-contr%C3%B4leur-de-scenes-z_wave-hank-hkzw_scn04.html)
I hope I have been clear ;) otherwise feel free to ask questions in the comments below.
For the ambient light line, you can code the color gradient you want as well as the timing, everything is explained below in the documentation.
Documentation
A brief but complete documentation created by lunarok is available here: https://github.com/lunarok/jeedom_docs/blob/master/plugins/xiaomihome/yeelight.md
But I am putting a copy here because the links had changed and I couldn't find them, so I have a copy for myself. Thanks to lunarok
Yeelight Wifi
Light Configuration
A complete presentation of the range is available here: Presentation Article.
In the Yeelight app, you must enable the control option on the local network. It is a switch to be activated in the options of each bulb/strip. Furthermore, the devices must be on the same network as Jeedom.
Creation of Devices
A scan button allows you to automatically create all the devices responding to the Yeelight protocol available on the network (only those that do not already exist in Jeedom, of course).
Commands of Compatible Devices
The compatible lamps offer the following commands by default: Turn On, Turn Off, toggle, brightness, sequence.
Some lamps add commands:
- Yeelight White : no other commands.
- Desklamp : white temperature.
- Yeelight RGB : Online, Status, Set RGB color, Moonlight, Sunlight, Scheduled Off, Stop Sequence, Brightness Information, White Temperature, White Temperature Information, Mode, Set HSV color, HSV color, Set HSV saturation, HSV saturation, RGB color, Refresh.
- RGB Strip : Online, Refresh, Status, Set RGB color, Moonlight, Sunlight, Scheduled Off, White Temperature, Stop Sequence, Brightness Information, Mode, Set HSV color, HSV color, Set HSV saturation, HSV saturation, RGB color.
- Bedside Lamp (gold base): RGB color, white temperature, day mode, night mode, HSV colors.
- Yeelight Ceiling : white temperature, day mode, night mode.
- Yeelight Ceiling 450 and 480 : white temperature, day mode, night mode.
- Yeelight Ceiling 650 : white temperature, day mode, night mode, RGB colors.
The Sequence Command
A special command sequence is created. It is intended to be used in a scenario only, as you must send specific content to the command. Here is a commented example of this command:
3 recover rgb,255,0,0,500,100-wait,400-rgb,255,255,0,500,100
3: Defines the number of times the sequence of effects should be applied before stopping (0 means unlimited).recover: one of the 3 possible options for the end of the sequence (recover= returns to the state before the sequence,off= turns off,stay= remains in the status at the end of the sequence)- The third element is the sequence of states with their transition, there are 4 possible (note: do not put spaces):
hsv: parameters (hue,saturation,duration=300,brightness=100).rgb: parameters (red,green,blue,duration=300,brightness=100).temp: parameters (degrees,duration=300,brightness=100).wait: parameter (duration=300).
The numbers given for duration or brightness are the maximum allowed.
You must enter the sequence with - between each effect. For each, there must be its name and all parameters separated by commas.
Aucun commentaire pour le moment.